Four Contractors Said Replace the Skylights. We Found a Different Answer.
How a Crescent Park Family Kept Their Home Exactly as It Was and Had a Watertight Dining Room Before Thanksgiving.
They were catching water in buckets beneath their dining room table.
Two of the four skylights in this Crescent Park colonial, remodeled in the early 2000s and maintained with evident care had been leaking for long enough that buckets had become part of the dining room arrangement. The family had spoken with several contractors. Every one of them arrived at the same conclusion: replace all four skylights.
There was one problem with that recommendation. The skylights sit above an upstairs deck, a space the family uses, values, and did not want altered. Full replacement would have changed the look and feel of both the deck and the interior finish of a home they had spent years making exactly right. One contractor had already attempted a repair using a paintable sealant. It failed.
The family reached El Centro Builders through a neighborhood referral. Our position from the first conversation: we do not prescribe a solution before we understand the problem.
What Every Other Contractor Missed
The reflexive recommendation to replace skylights is common. It is also frequently wrong not because replacement is never the answer, but because it is often recommended without the diagnostic work that would confirm whether it is actually necessary.
Skylights leak for several distinct reasons, and the source of the leak determines the correct repair. Replacing a unit without identifying the source of water entry does not fix a leak — it relocates the investigation to after the new unit is installed.
The questions that actually matter:
- Has the manufacturer’s silicone between the glass panels failed a material issue unrelated to the skylight unit itself?
- Is the roof waterproofing membrane at the skylight-to-deck junction intact, or was it improperly installed and never flood-tested?
- Is water entering at the glass, at the frame, or migrating from an adjacent surface and traveling to a different exit point?
- Has a prior repair attempt sealed over an active failure without addressing the underlying cause?
None of these questions can be answered from the ground. They require opening the ceiling, testing the assembly, and following the water not assuming where it came from.
The Investigation: Finding the Leak Before Prescribing the Fix
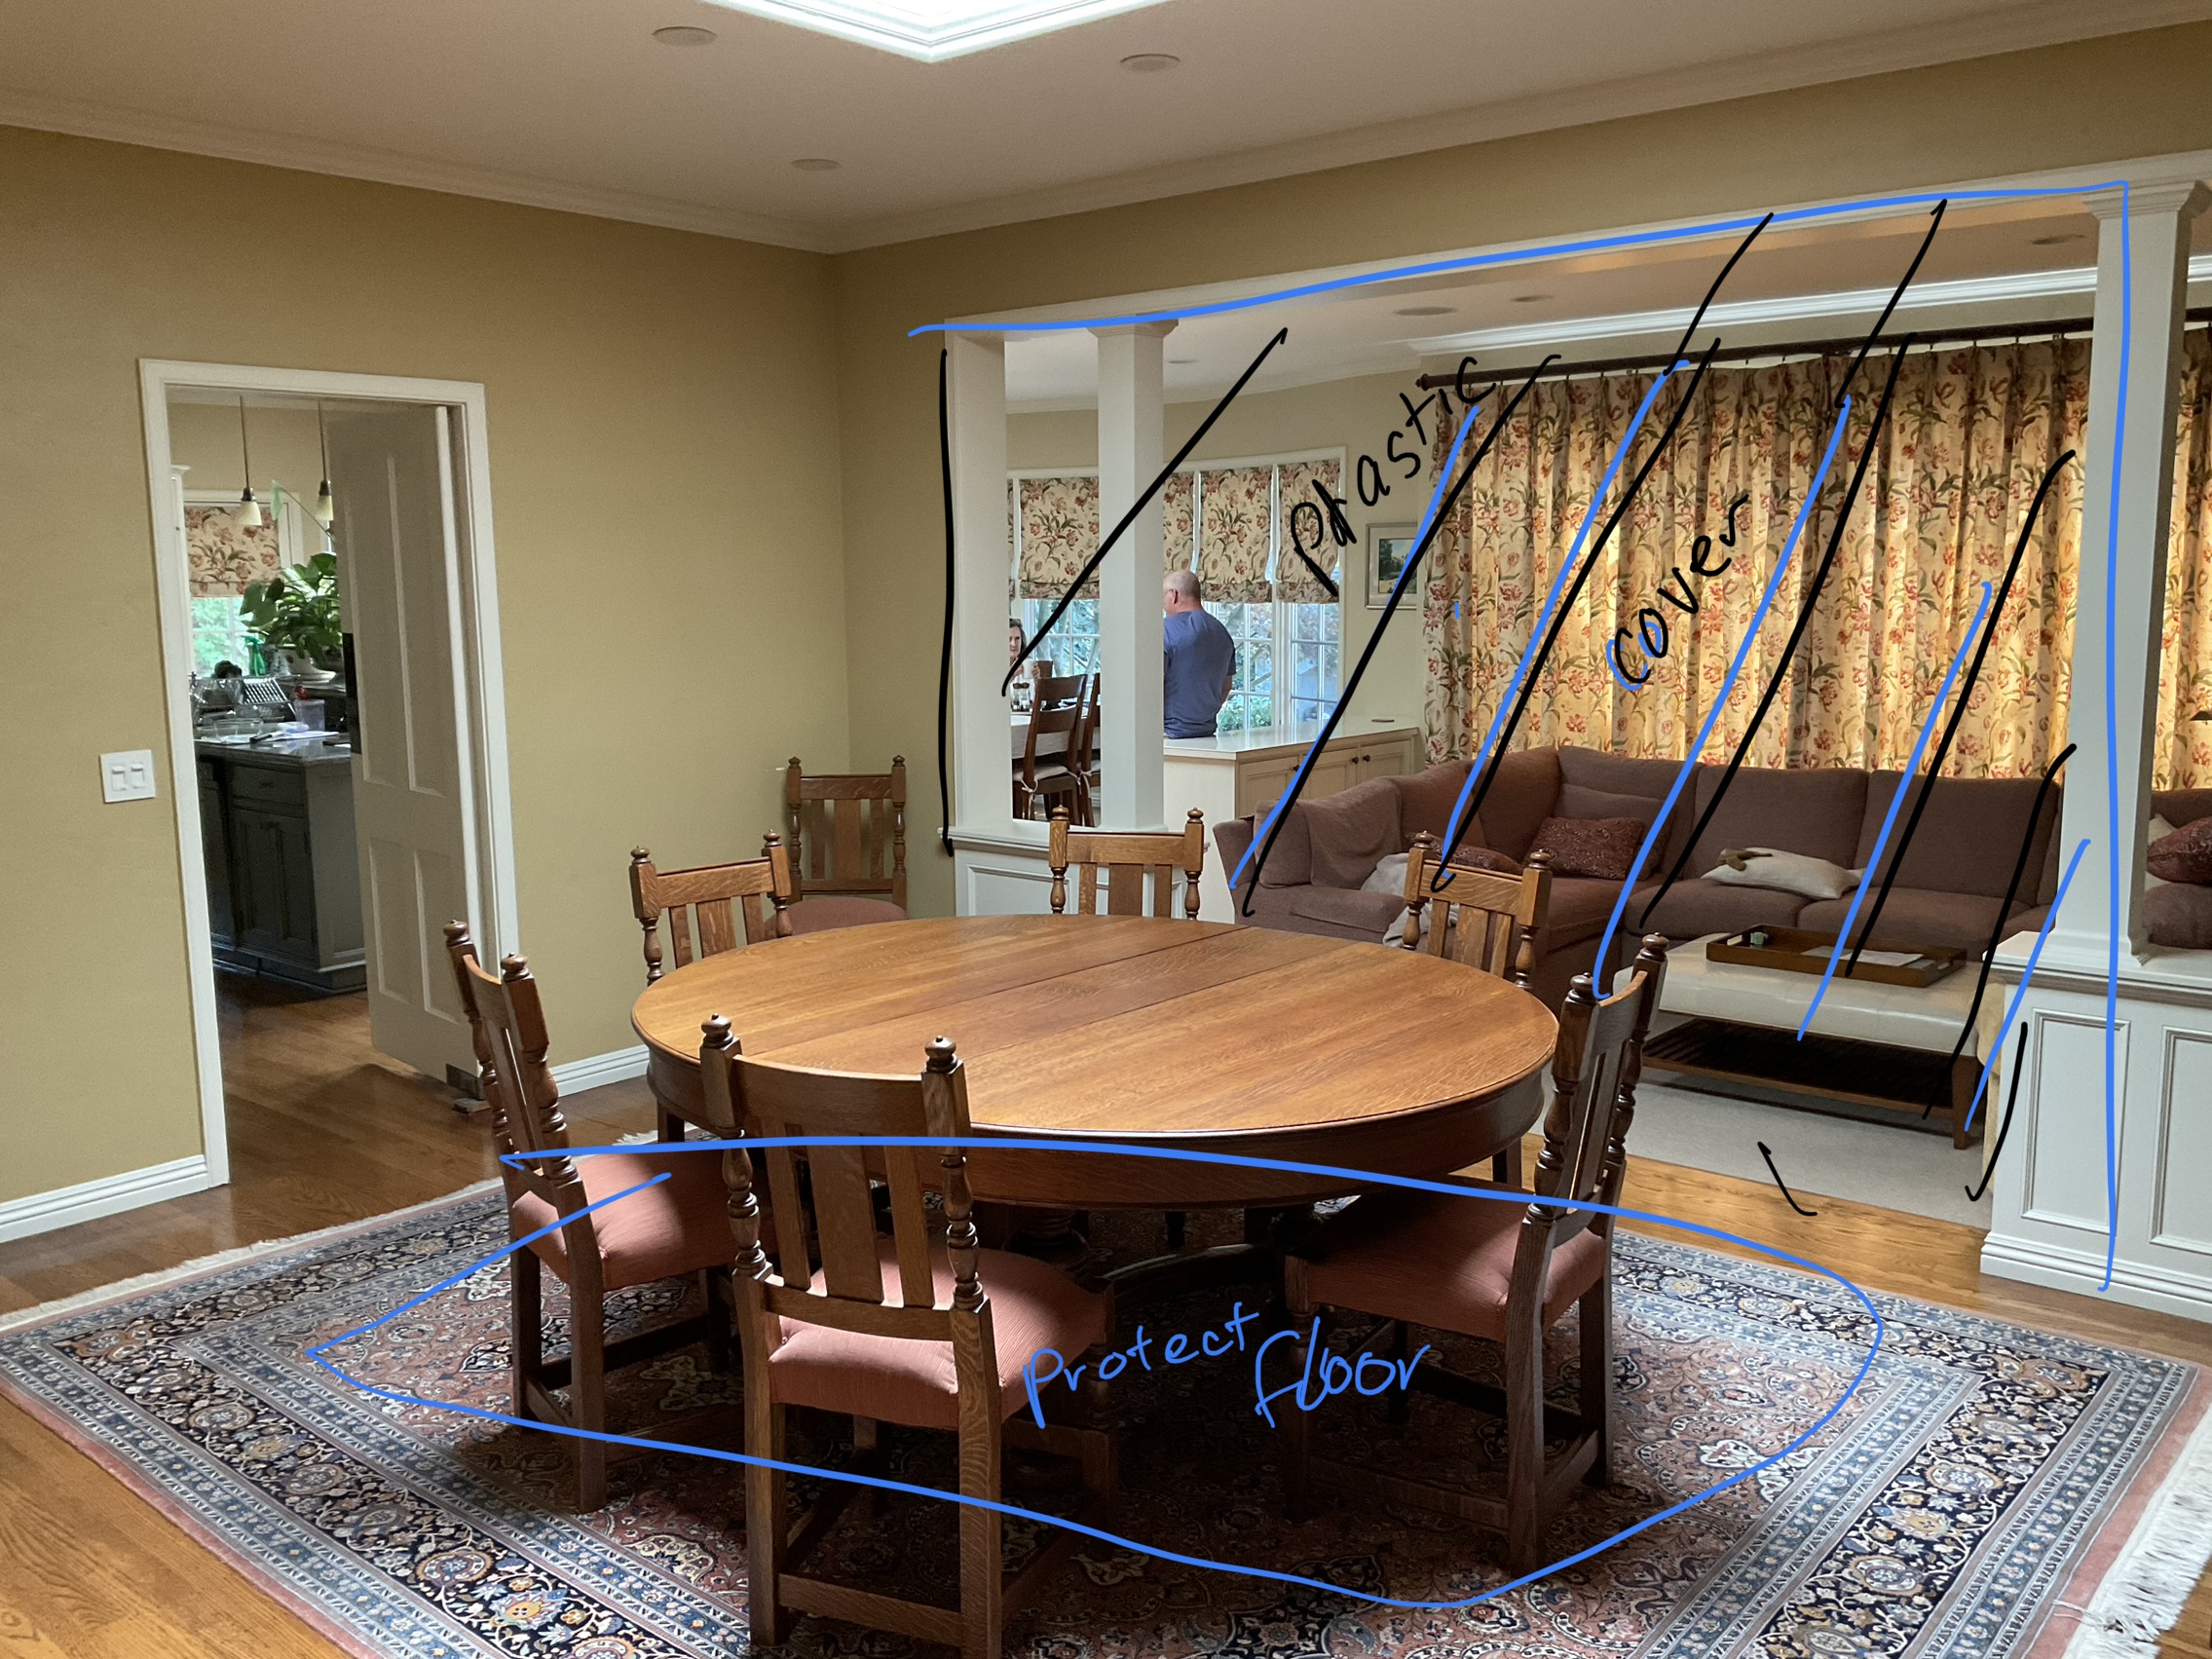
Before any repair was performed, we established site protection throughout the home. Hardwood floors were covered with rosin paper. Plastic containment sheeting was installed from wall to floor beneath the work areas to control dust from the exploratory drywall opening. A portable toilet was staged on-site to keep the family’s home clean throughout the project.
Because work was performed in fall and the leaks were active, temporary tarps were installed to minimize water infiltration during rain events while the assembly was open. The homeowner’s Thanksgiving deadline was understood from day one. We planned to meet it.
The diagnostic process:
- Careful removal of existing trim molding the original pieces, preserved for reinstallation
- Controlled opening of ceiling drywall to expose and trace the leak path from the interior
- Flood testing of all four skylights to isolate active leak sources under controlled conditions
- Verification of the waterproofing membrane condition beneath the roof deck
- Review of skylight manufacturer documentation provided by the homeowner to confirm proper sealant specifications
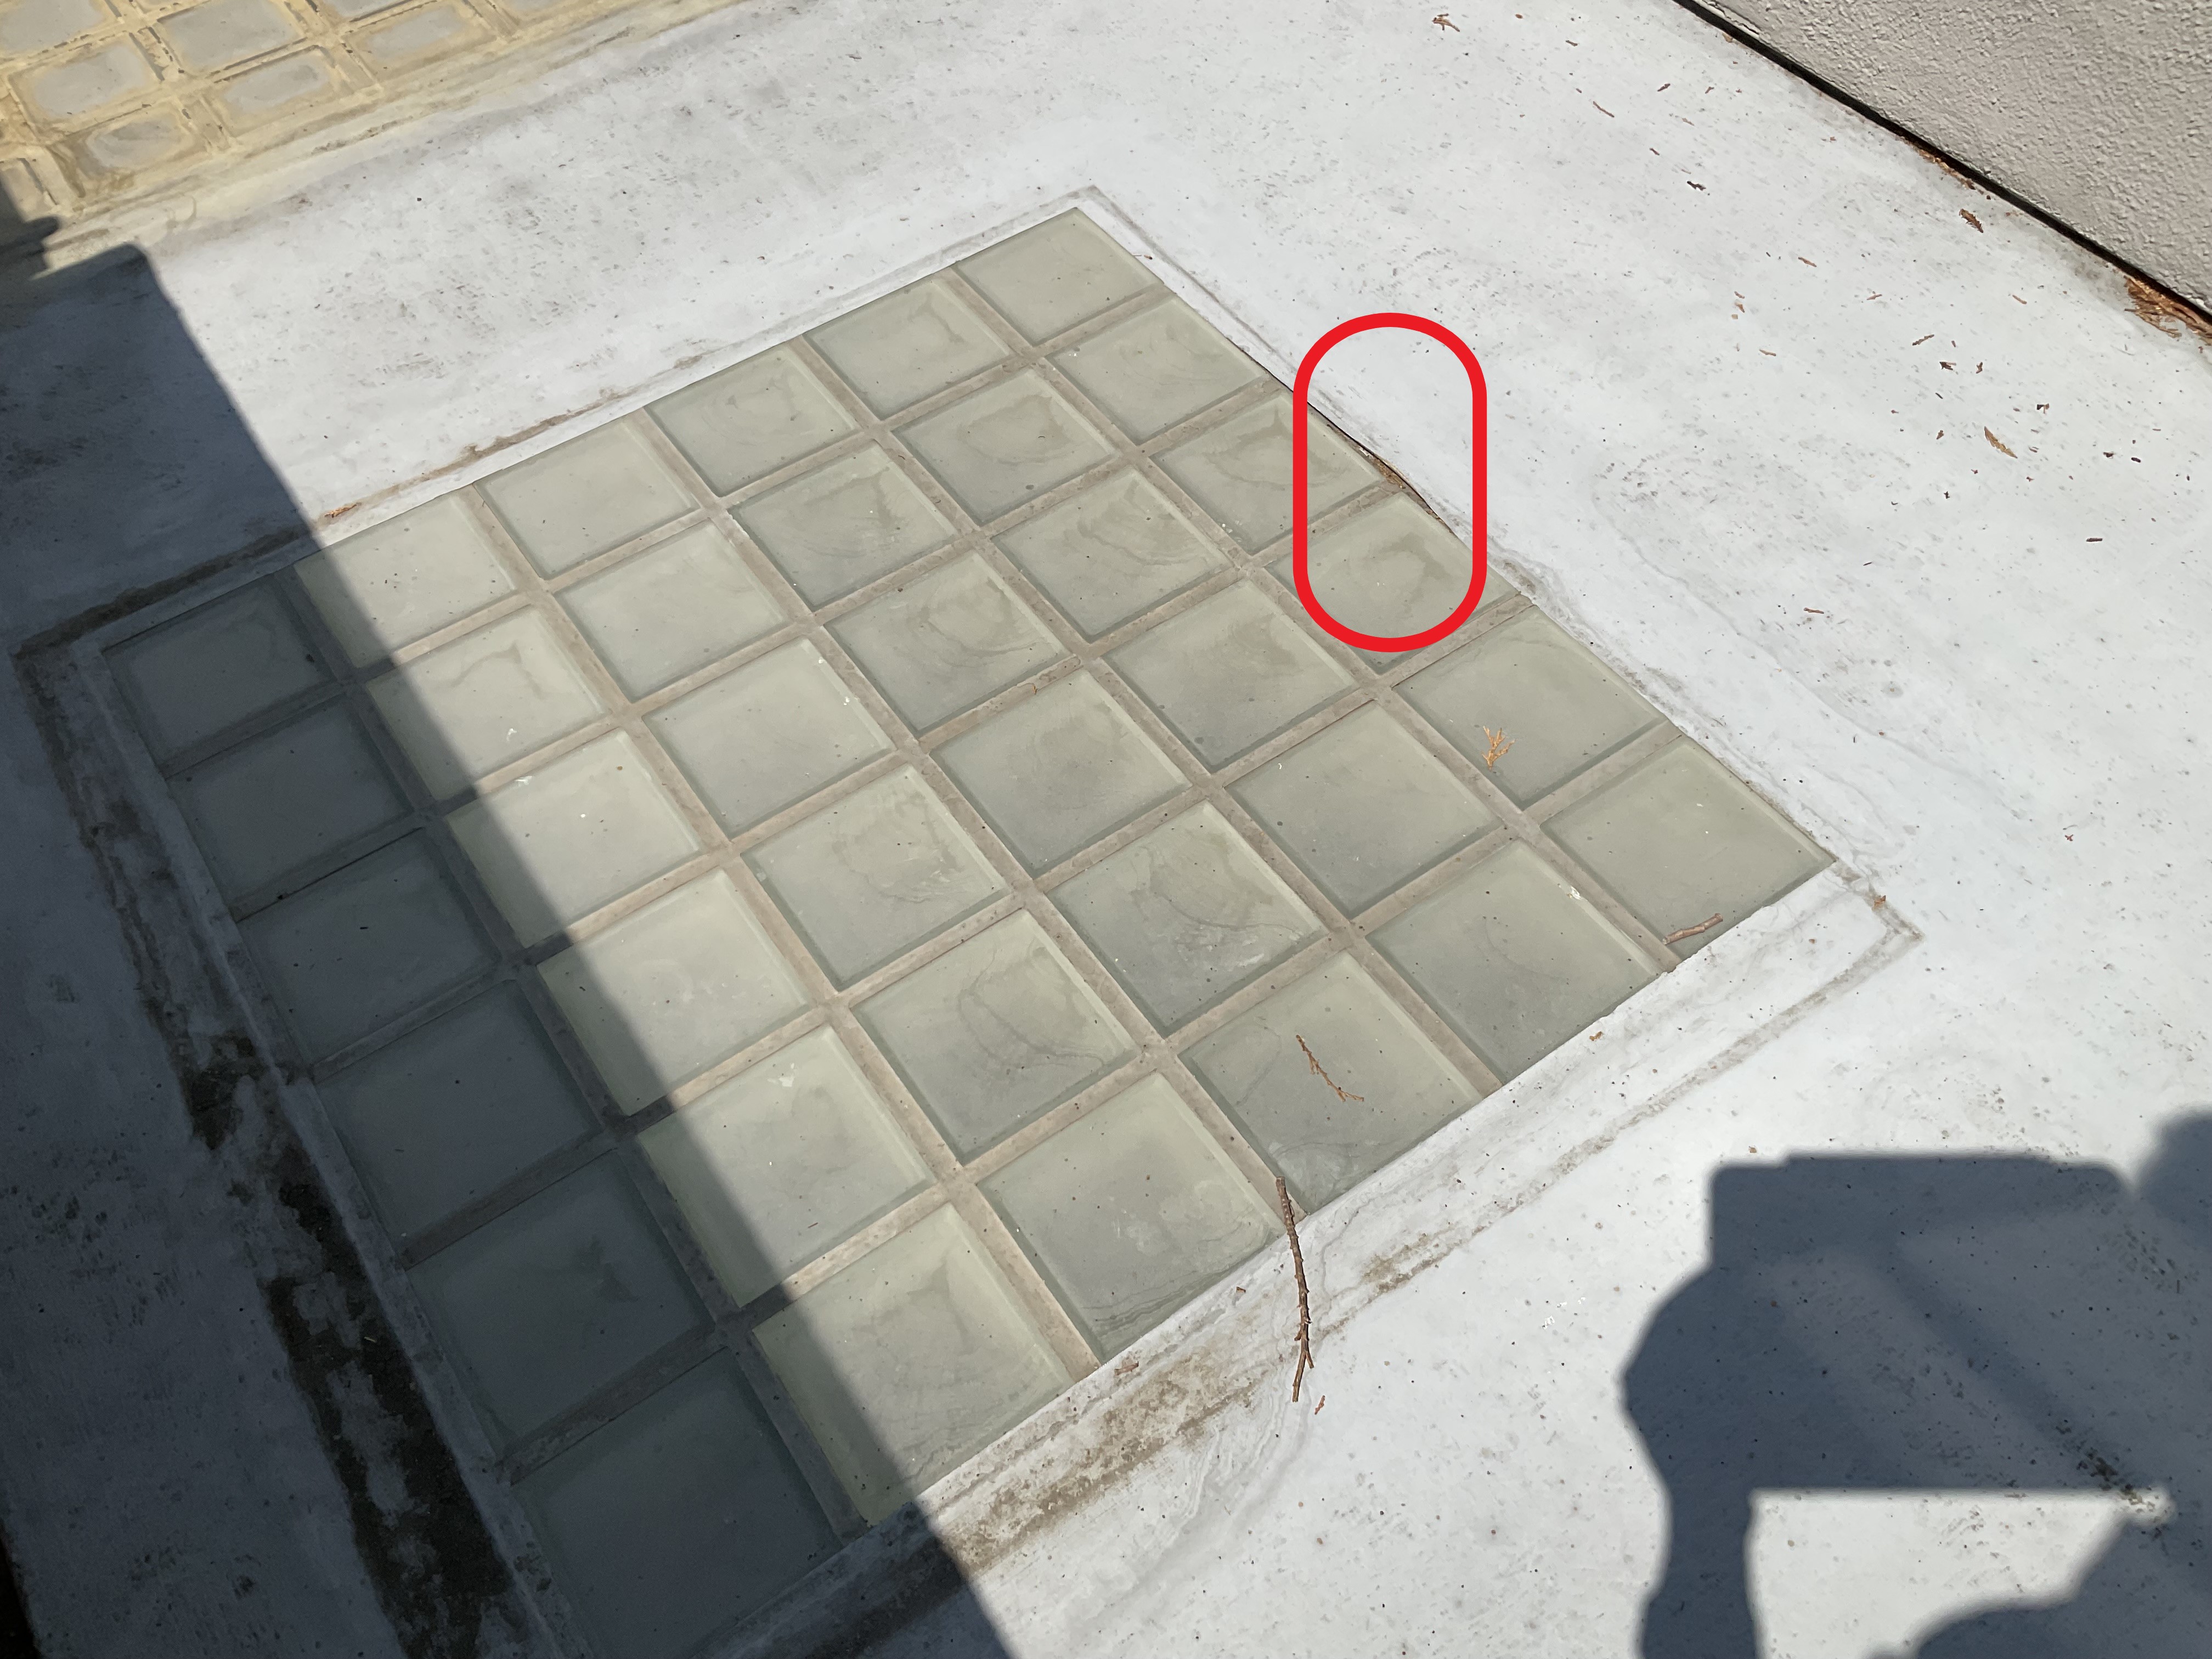
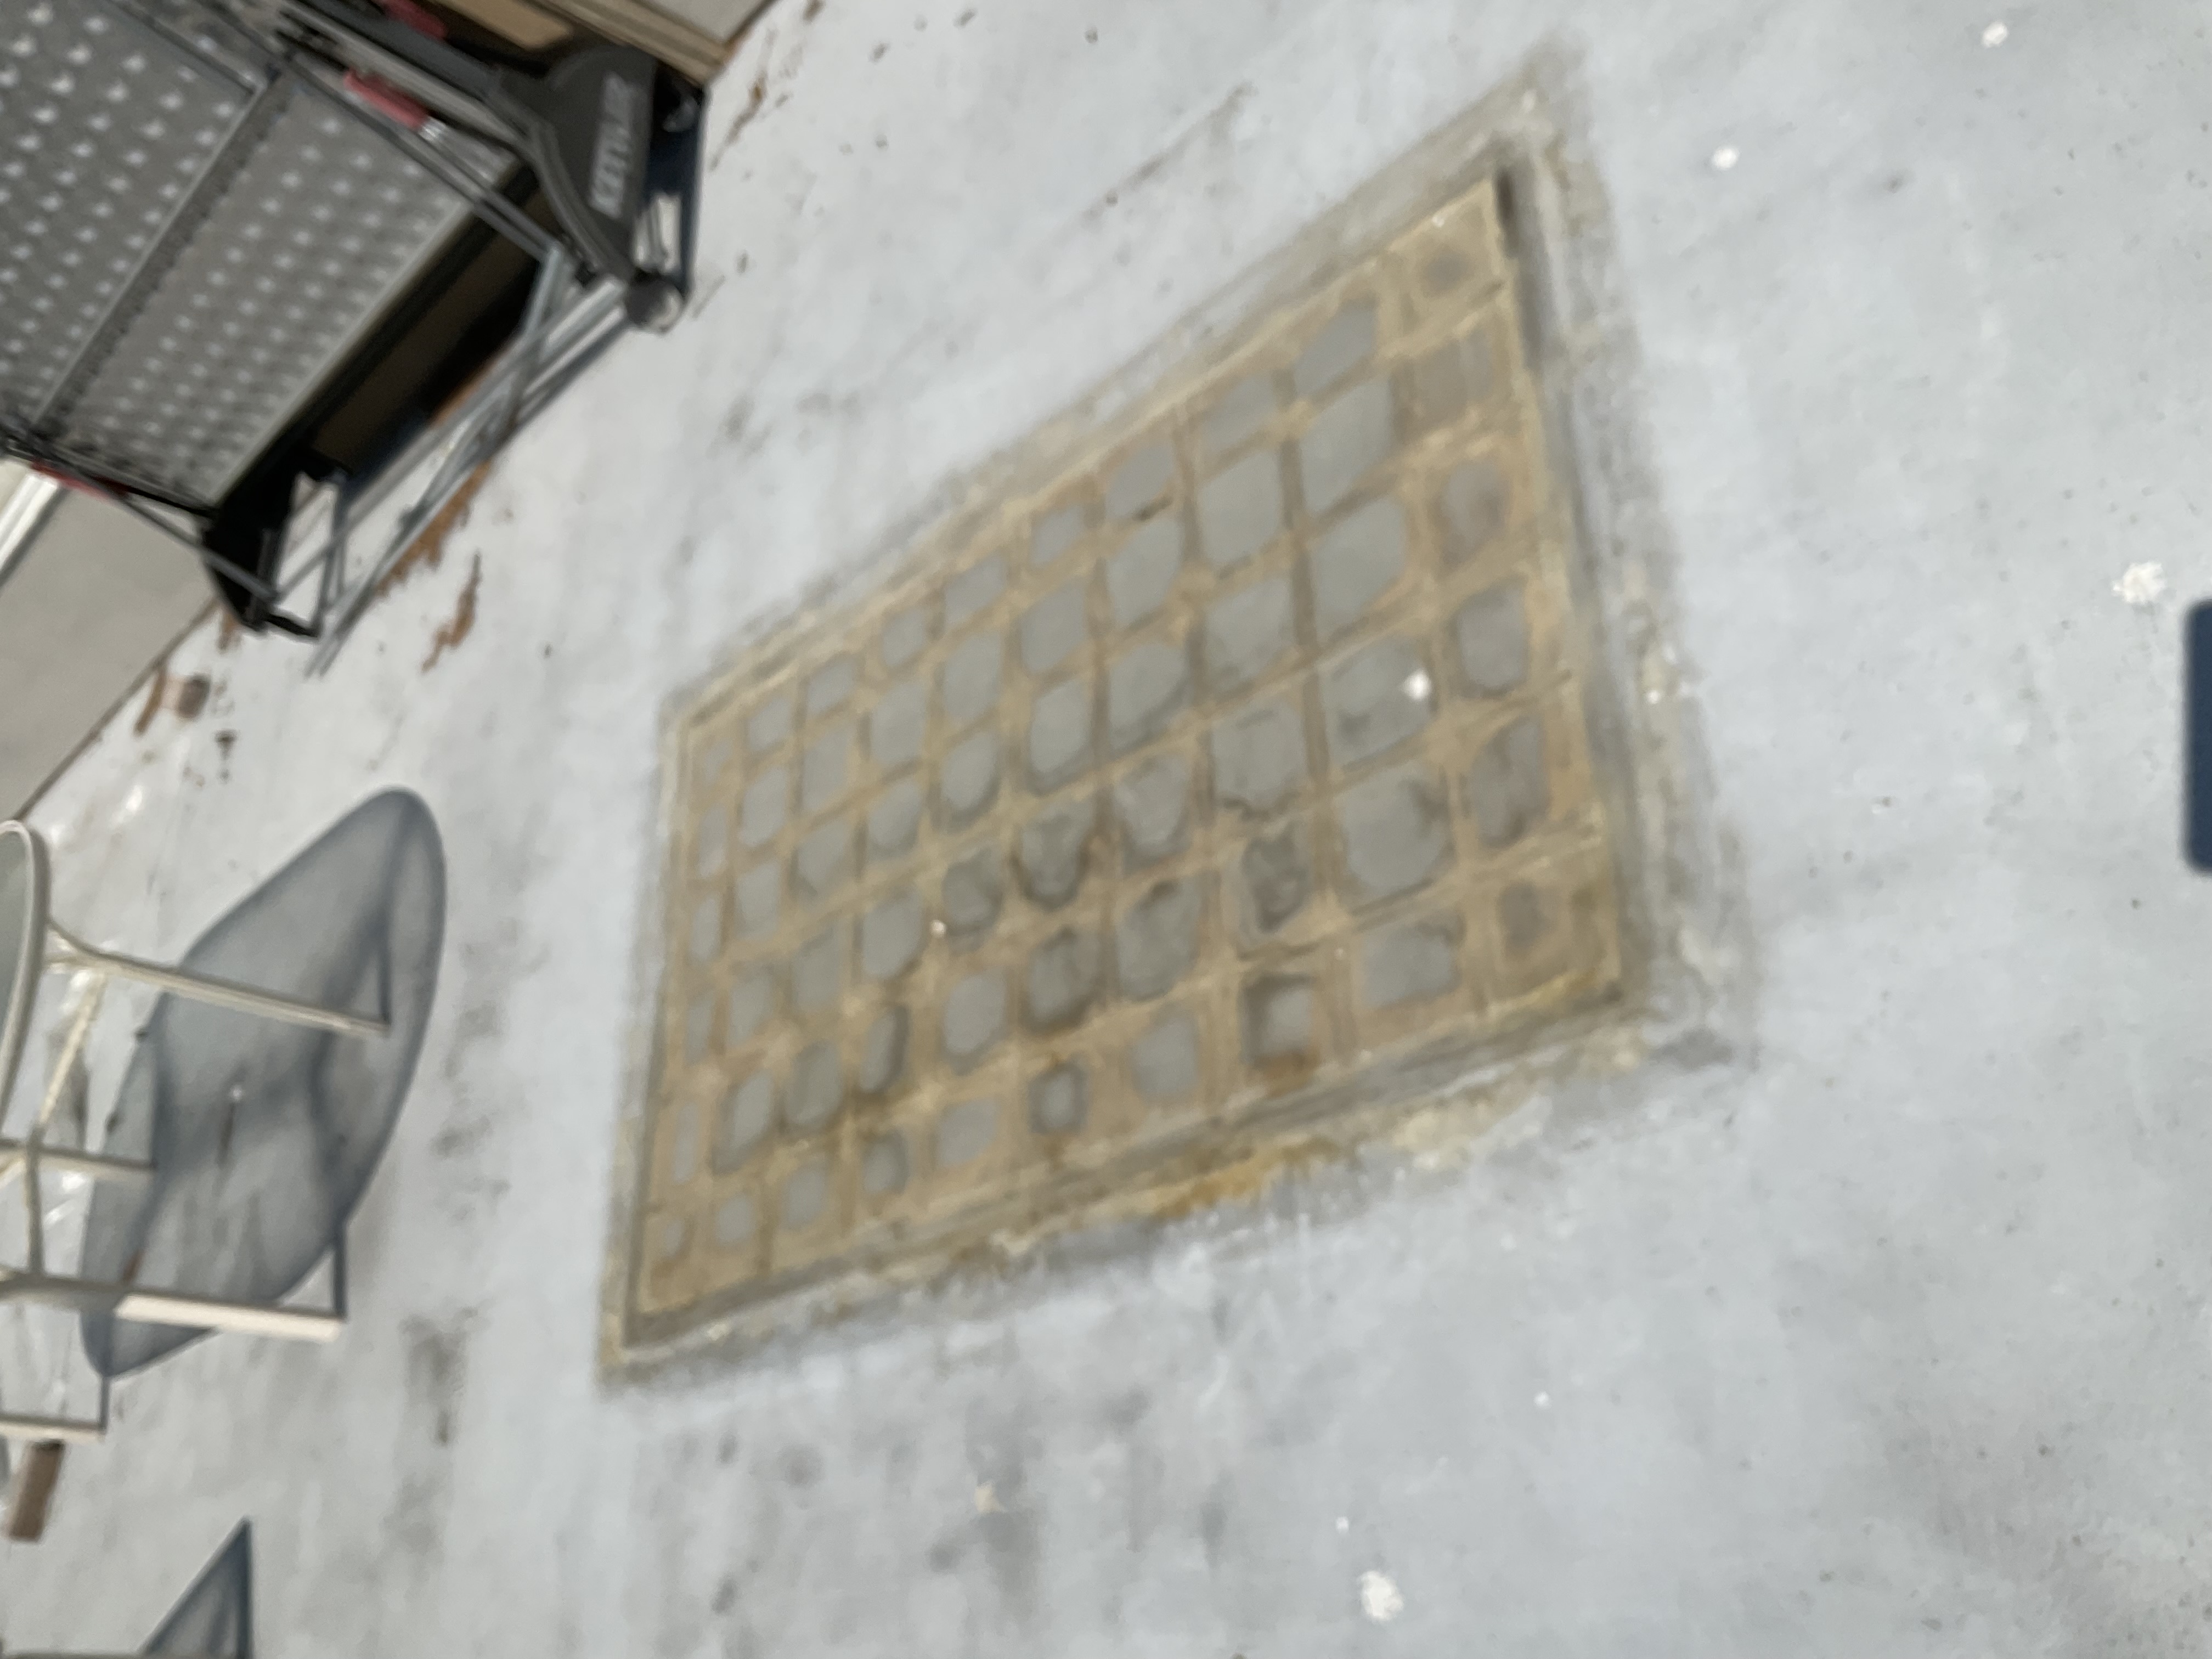
What flood testing revealed: the previous contractor’s rooftop sealant was failing. The underlying waterproofing membrane, however, was in good condition. The dining room skylight leak originated at the glass block joints, where the manufacturer’s silicone had failed with age. The breakfast nook and hallway skylight leak originated at the deck waterproofing junction, improperly executed the first time and never flood-tested to confirm performance.
What the Work Involved
With the leak sources identified, the repair scope was precise, no more invasive than necessary, and no less thorough than the problem demanded:
- Manual removal of the failing sealant applied by the previous contractor across the roof deck
- Application of new Titebond WeatherMaster sealant to all four skylights — uniformly treated to prevent future differential performance
- Replacement of the failed manufacturer silicone between glass blocks on the dining room skylight, using the specification confirmed by the manufacturer
- Correction of the deck waterproofing junction at the breakfast nook and hallway skylight
- Flood testing of all repairs after completion confirming zero water infiltration before the ceiling was closed
- Reinstallation of the original trim molding — the same pieces, in the same configuration, preserving the interior finish exactly as it was
- Sheetrock repair, prime, and paint in the dining room and beneath three skylights
- Dining room ceiling repainted to match existing finish
The skylights were not replaced. The deck was not altered. The interior finish was not changed. The home looks exactly as the family intended it to look because the repair was based on a diagnosis, not a default recommendation.
The Outcome
The home was fully watertight before Thanksgiving. The family had their dining room back without buckets, without altered skylights, and without a deck that looked like it had been worked on.
The repair addressed both failure sources, the glass block silicone and the deck junction waterproofing, and was flood-tested after completion to confirm performance. The homeowners did not have to take our word for it. They had the test results.
The alternative full skylight replacement recommended by every other contractor would have cost significantly more, altered a home the family valued deeply, and may not have addressed the deck waterproofing failure that was one of the two actual leak sources.
Project Timeline & Investment
This project unfolded in three distinct phases. Two weeks were devoted to troubleshooting and investigation, opening the ceiling, flood testing, tracing both leak sources, and consulting with the skylight manufacturer to confirm the correct sealant specification. Once the diagnosis was confirmed, the manufacturer-approved sealant required 1.5 weeks to arrive. The construction and restoration phase which included roof deck sealing, interior sheetrock repair, trim reinstallation, and painting was completed in 4 weeks.
This project represented a total investment of $25,000 covering investigation, manufacturer-spec materials, full roof deck repair, and interior restoration. For context: every other contractor’s recommendation would have cost significantly more, altered the home permanently, and may not have corrected the deck waterproofing failure that was one of the two confirmed leak sources. The diagnostic investment is what made the difference.
If you have been quoted skylight replacement without a flood test or ceiling investigation, you have been quoted a solution without a diagnosis.
SCHEDULE A SKYLIGHT & ROOF LEAK INVESTIGATION
If your home is showing any of the following, the source of the problem is already established, it simply has not been correctly identified yet:
- Active leaking or water staining beneath a skylight or at a roof deck junction
- A prior skylight repair that did not hold, or a sealant application that failed within a season
- A recommendation to replace skylights that was not preceded by flood testing
- Water infiltration that has been traced to a general area but not to a confirmed source
- Interior ceiling or drywall damage adjacent to a skylight, roof penetration, or exterior deck

.jpg)
.jpg)